> ## Documentation Index
> Fetch the complete documentation index at: https://docs.synk.to/llms.txt
> Use this file to discover all available pages before exploring further.
# Connect Zoom to Synk.to
> Guide on connecting Zoom to Synk.to
Prerequisites:
1. Zoom Workspace Owner or Admin user account
## **Step 1**: Create Zoom application for Synk.to
1. Login to [https://zoom.us/signin](https://zoom.us/signin#/login) using Zoom Workspace Owner or Admin user account.
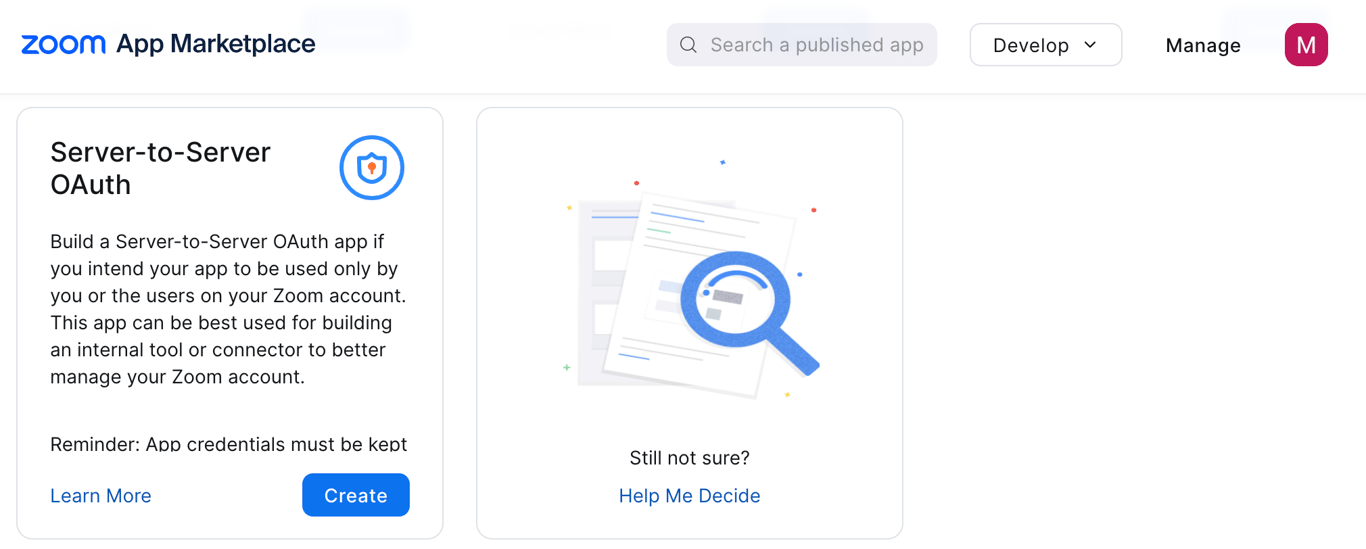
2. Go to [https://marketplace.zoom.us/develop/create](https://marketplace.zoom.us/develop/create) and click “**Create**” for **Server-to-Server OAuth** app.
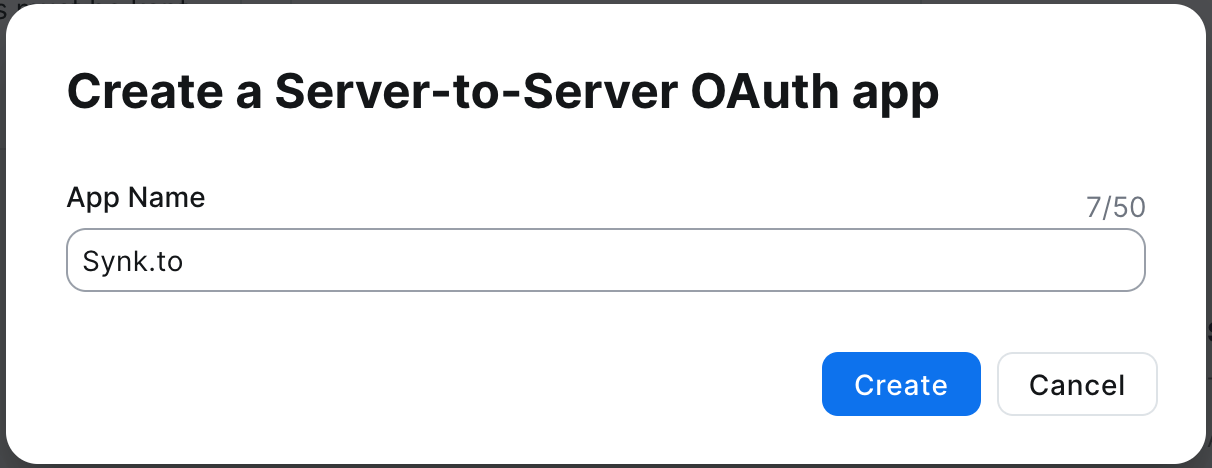
3. In “**Create a Server-to-Server OAuth app**” pop-up window type “Synk.to” as App Name.
 4. In the “**App Credentials**” section copy your “**Account ID**”, “**Client ID**”, and “**Client Secret**”. You will need them for Synk.to connection.
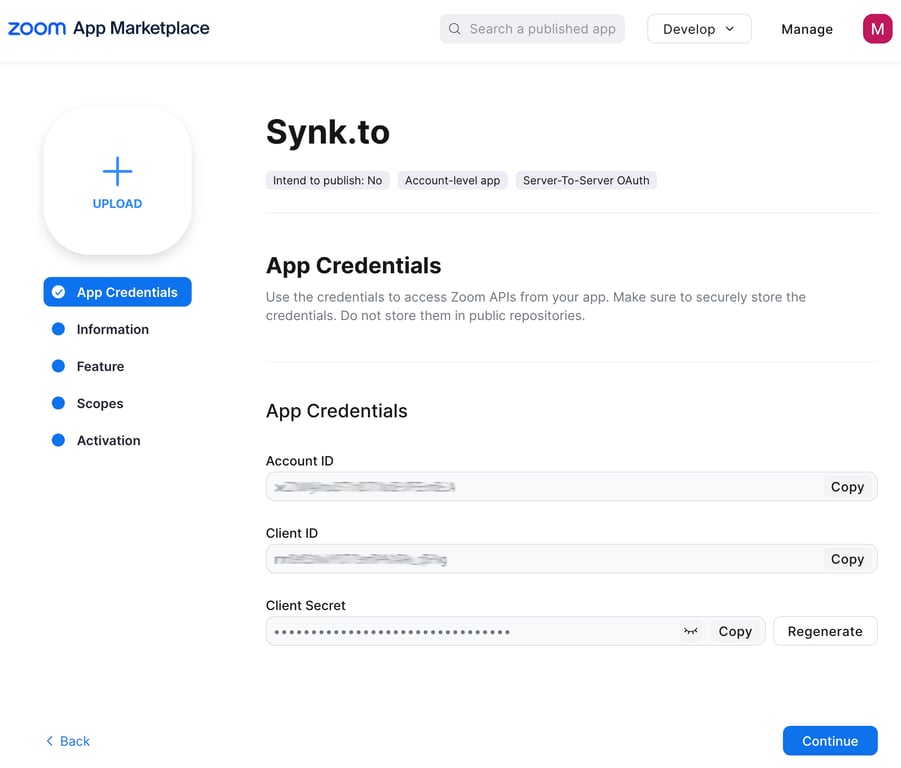
5. Click “**Continue**”.
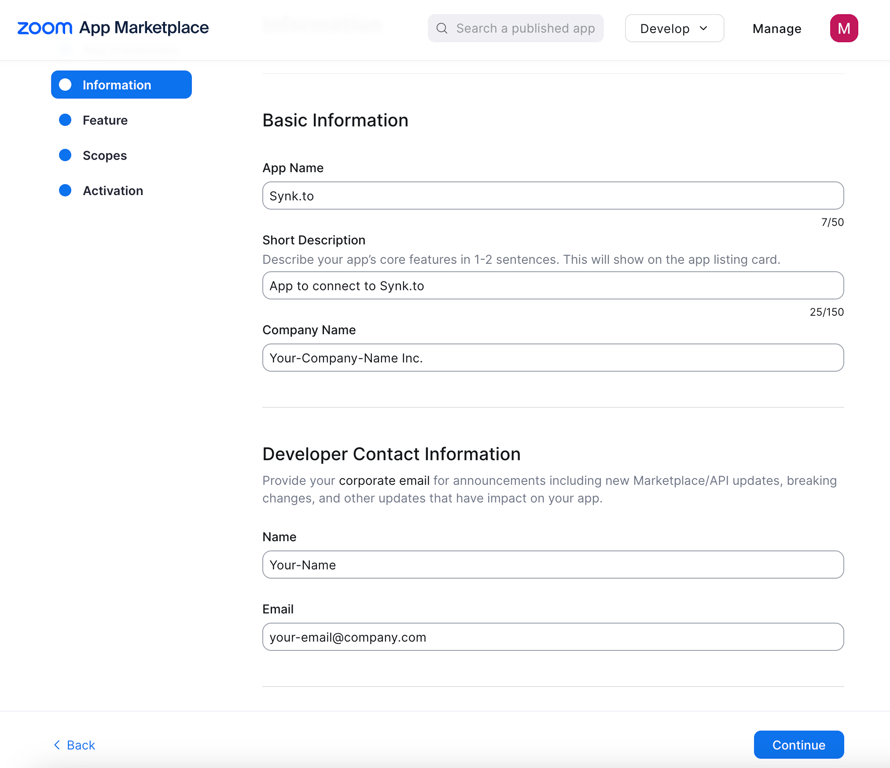
6. In the “**Information**” section fill in “Short Description”, “Company Name”, developer “Name” and developer “Email”.
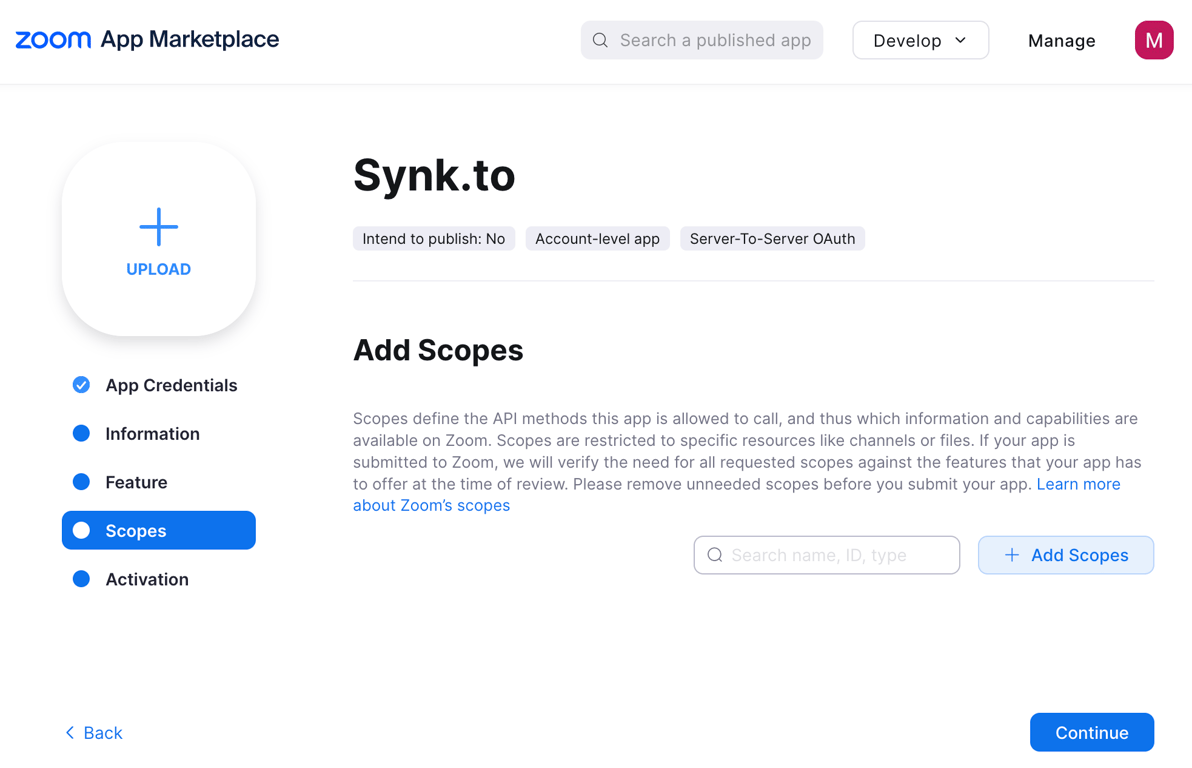
7. In the “**Scopes**” section click “**+Add Scopes**” button.
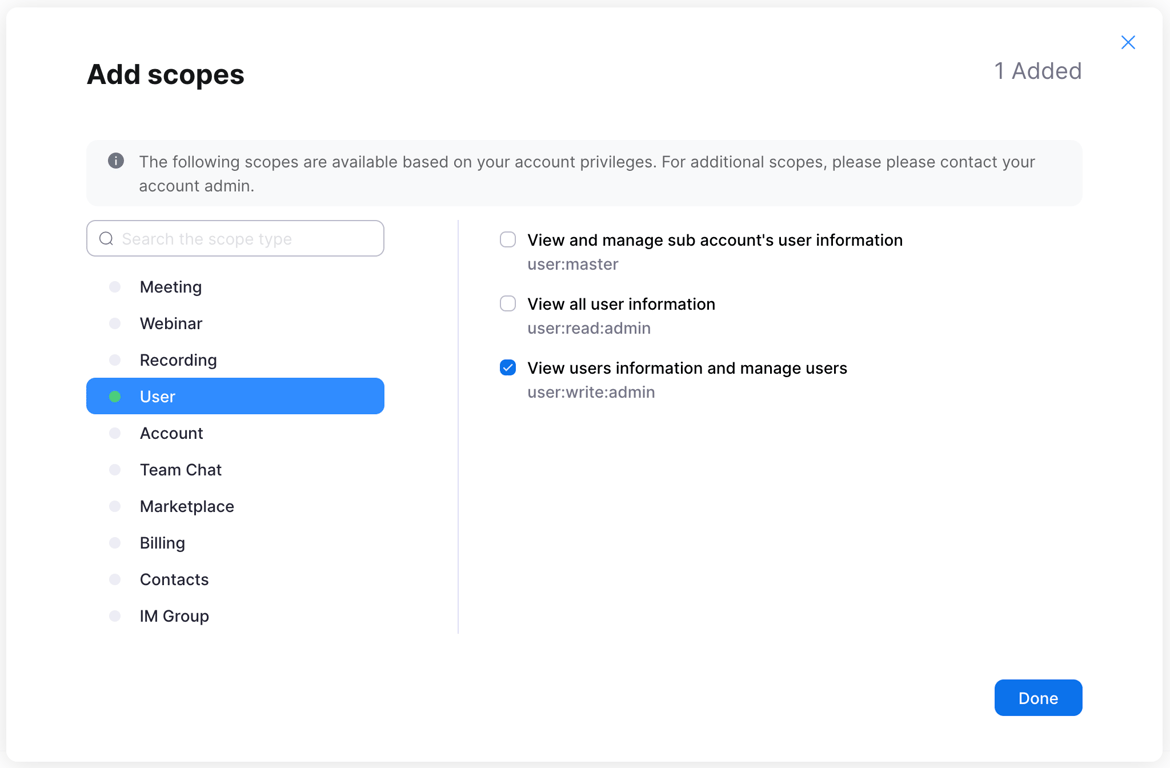
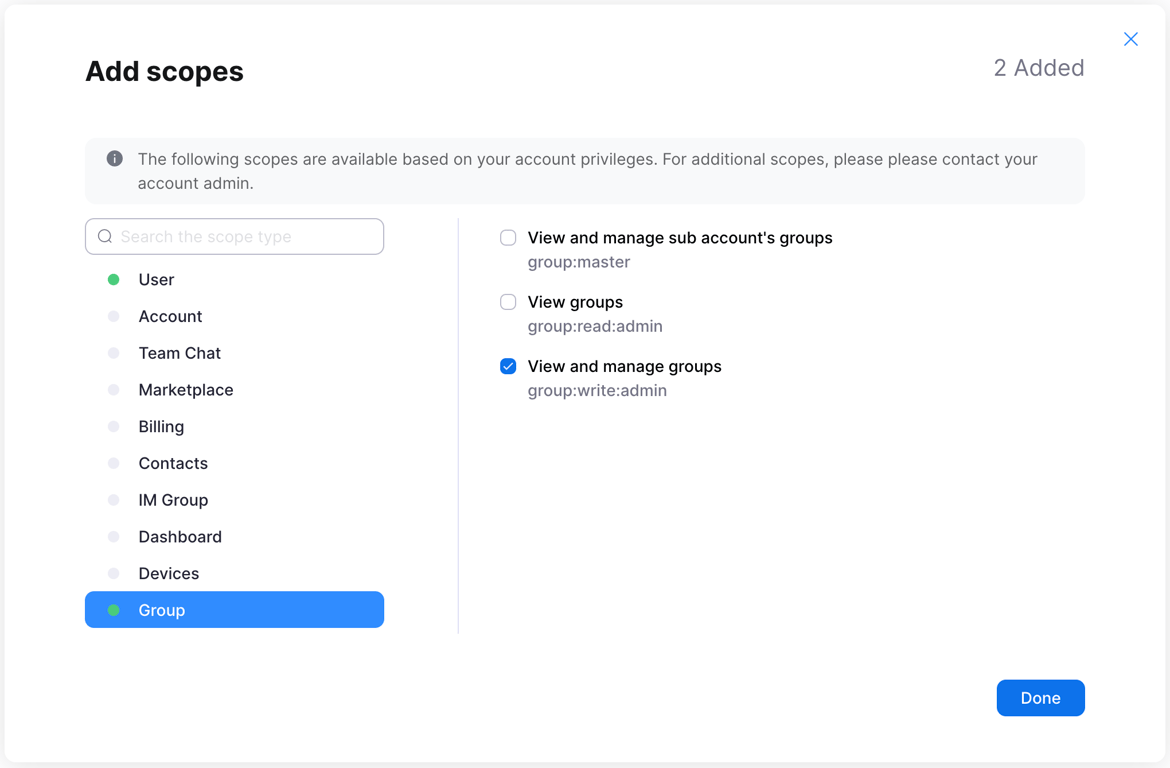
8. In “**Add scopes**” window click on “**User**” section and choose “**View users information and manage users**” first. After that click on “**Group**” section, choose “**View and manage groups**”, and click “**Done**”. Synk.to needs this permission to sync users and groups.
9. Click “**Continue**”.
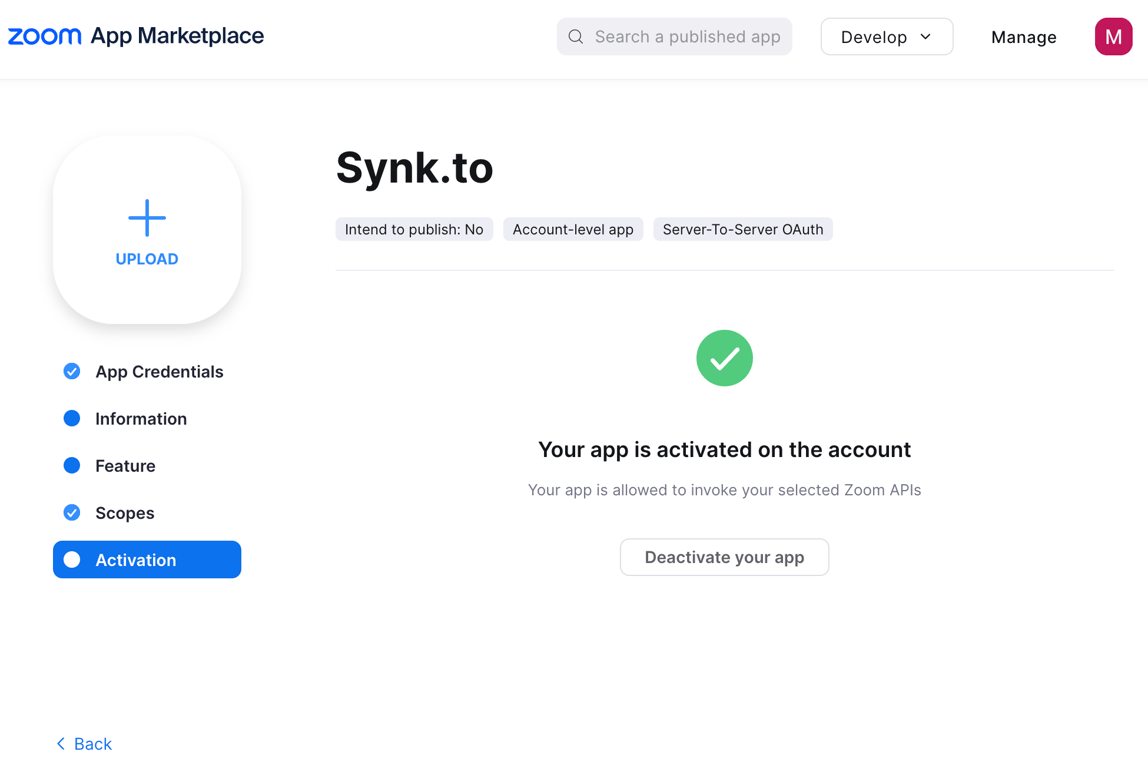
10. In the last “**Activation**” section click “**Activate your app**” button.
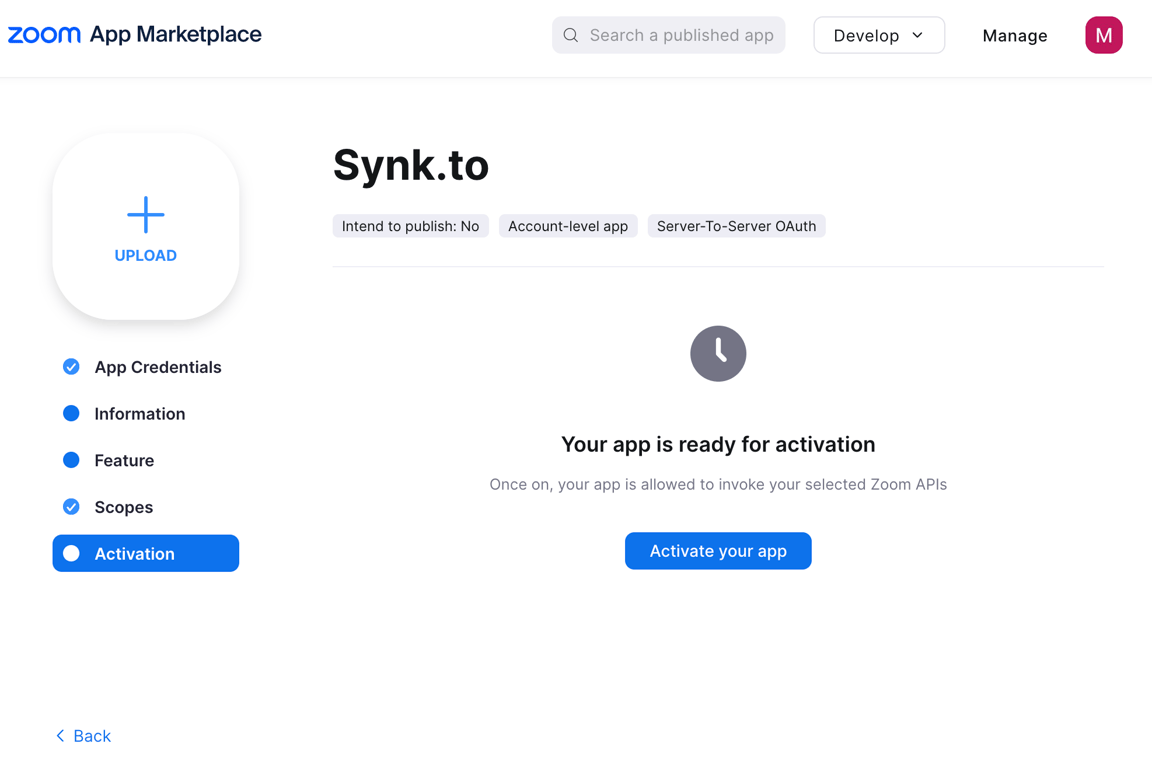
11. You should see “**Your app is activated on the account**” message after successful activation.
## **Step 2**: Connect Zoom to Synk.to
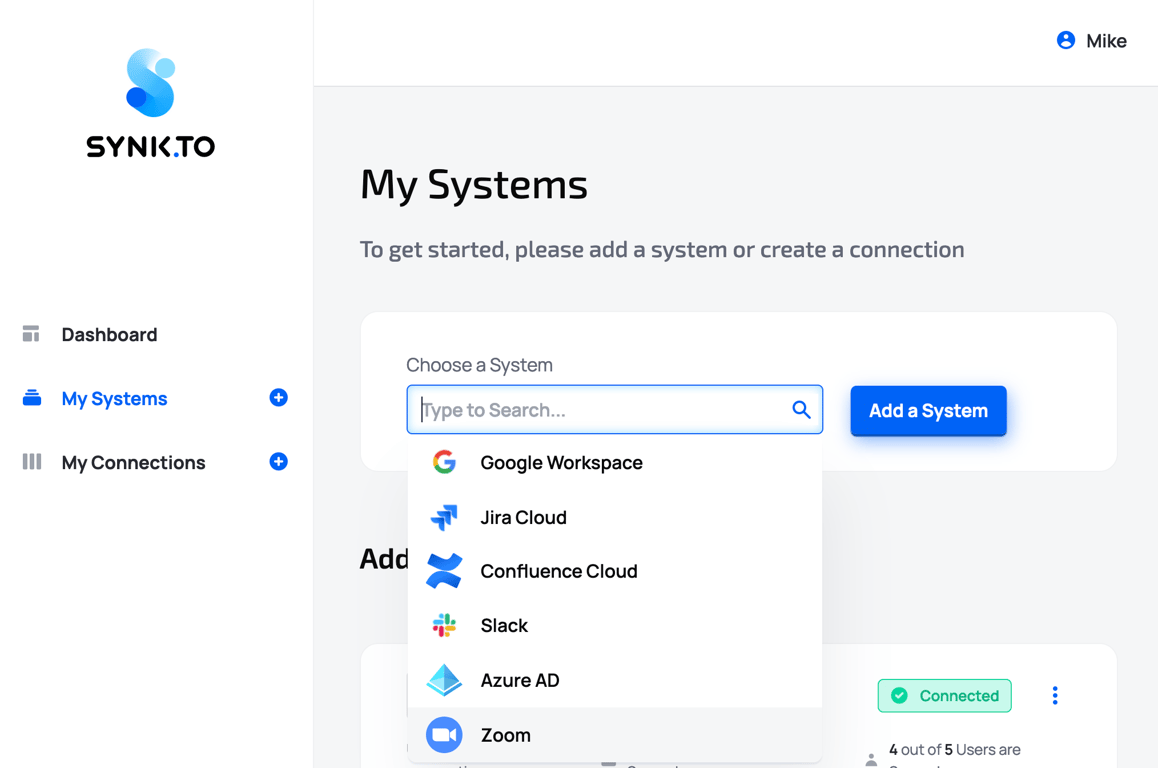
1. Go to the [SynkTo Systems](https://app.synk.to/systems) page, find Zoom in “Choose a System” field, and click “**Add a System**”.
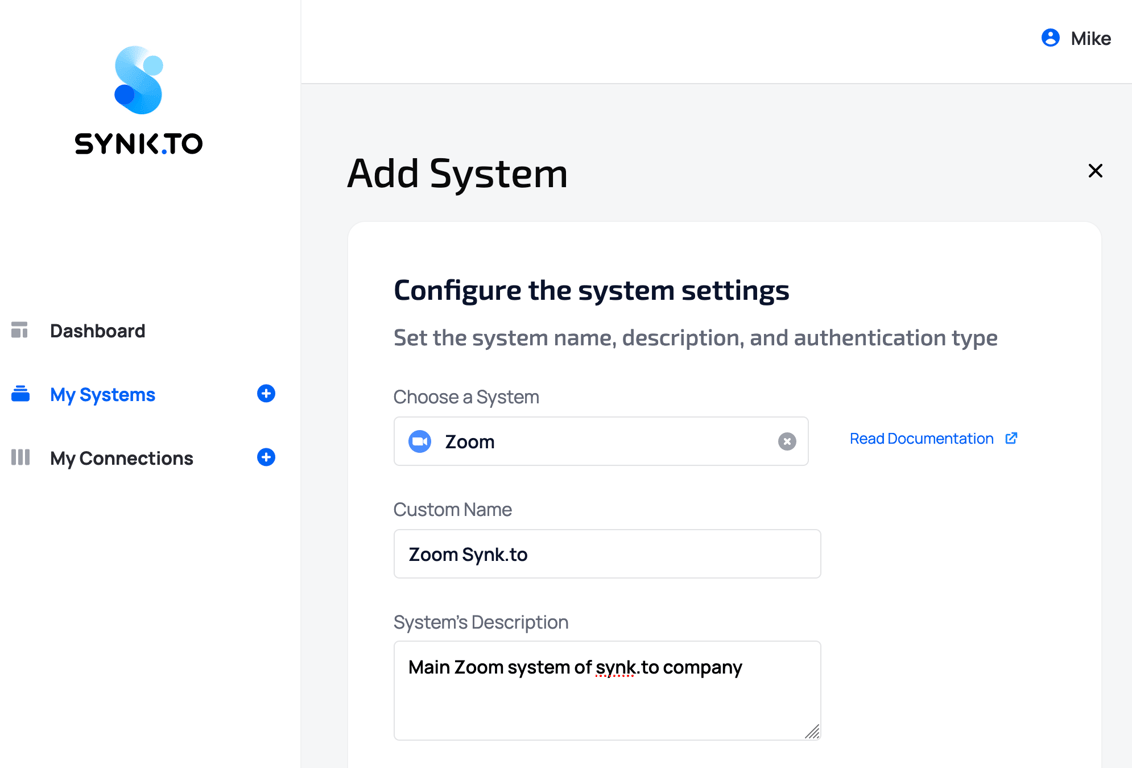
2. Provide “**Custom Name**” and “**Description**” to the system in order to remember it. It will be used in “My Connections” section.
3. In “**Authentication settings**” provide your “**Account ID**”, “**Client ID**”, and “**Client Secret**” from the Step 1 of this instruction.
4. In the “**App Credentials**” section copy your “**Account ID**”, “**Client ID**”, and “**Client Secret**”. You will need them for Synk.to connection.

5. Click “**Continue**”.
6. In the “**Information**” section fill in “Short Description”, “Company Name”, developer “Name” and developer “Email”.

7. In the “**Scopes**” section click “**+Add Scopes**” button.

8. In “**Add scopes**” window click on “**User**” section and choose “**View users information and manage users**” first. After that click on “**Group**” section, choose “**View and manage groups**”, and click “**Done**”. Synk.to needs this permission to sync users and groups.


9. Click “**Continue**”.
10. In the last “**Activation**” section click “**Activate your app**” button.

11. You should see “**Your app is activated on the account**” message after successful activation.

## **Step 2**: Connect Zoom to Synk.to
1. Go to the [SynkTo Systems](https://app.synk.to/systems) page, find Zoom in “Choose a System” field, and click “**Add a System**”.

2. Provide “**Custom Name**” and “**Description**” to the system in order to remember it. It will be used in “My Connections” section.

3. In “**Authentication settings**” provide your “**Account ID**”, “**Client ID**”, and “**Client Secret**” from the Step 1 of this instruction.
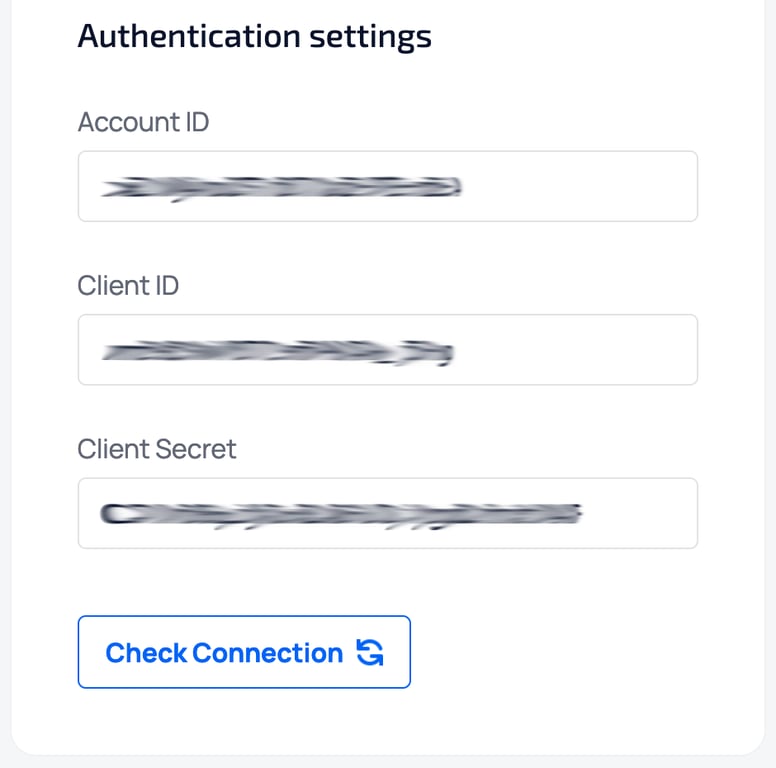 4. Click “**Check connection**”.
5. If everything is fine, you will see “**Account Connected**” green mark and the number of system users and groups in the bottom.
4. Click “**Check connection**”.
5. If everything is fine, you will see “**Account Connected**” green mark and the number of system users and groups in the bottom.
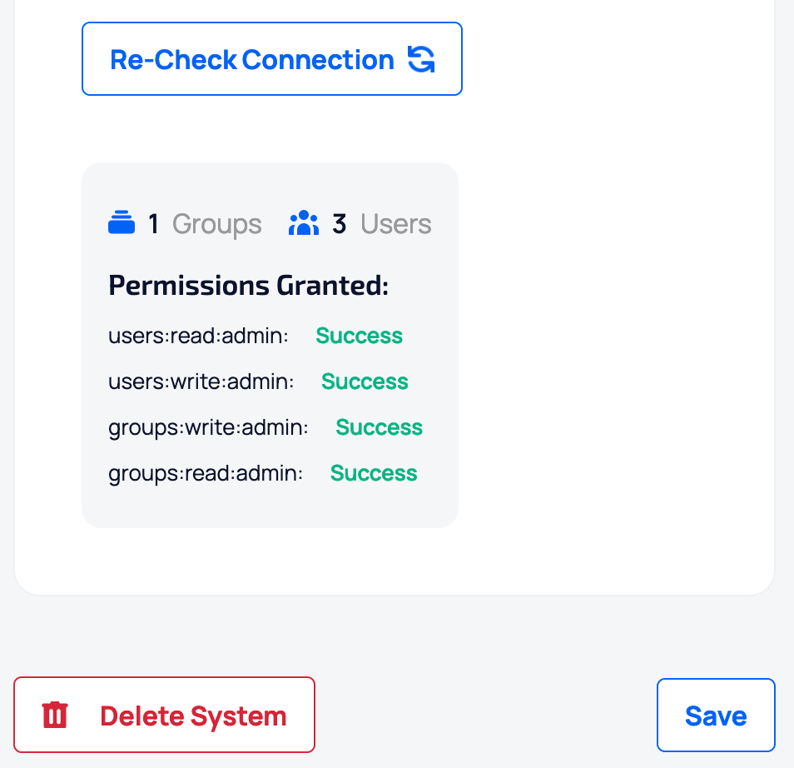 6. Click “**Save**” and you will see the system in My Systems list. Congrats!!! Now you can use it in “**My Connections**” section of Synk.to.
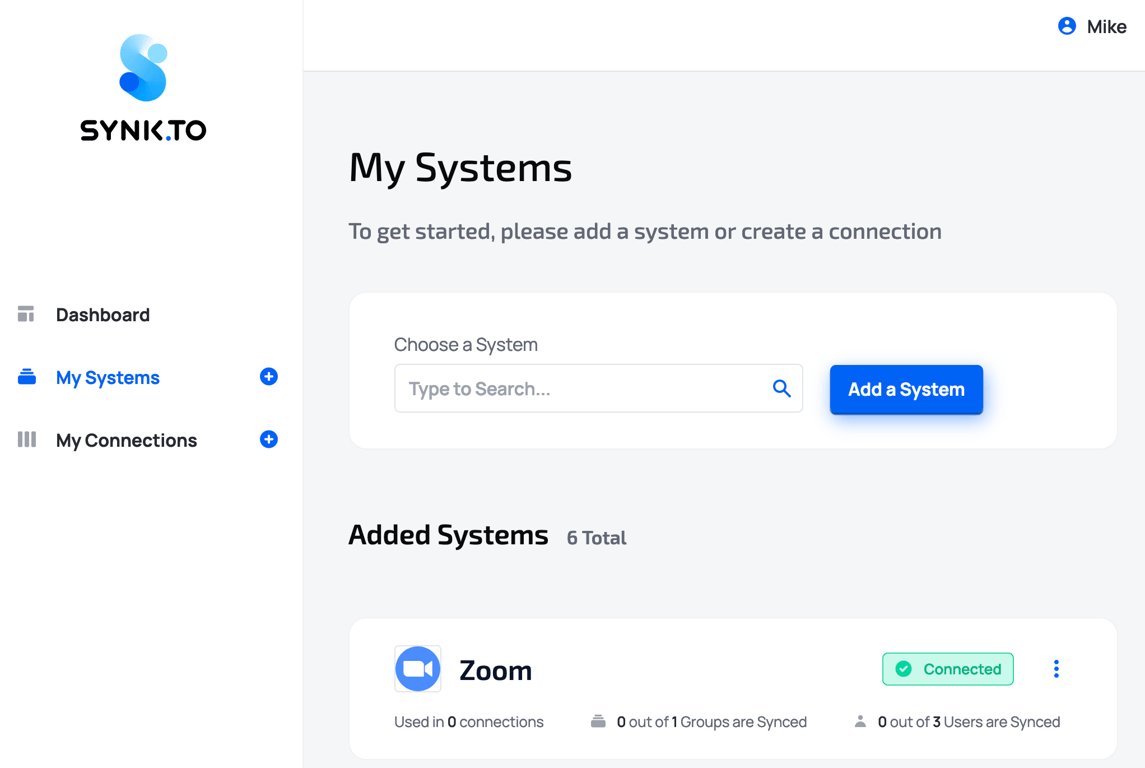
6. Click “**Save**” and you will see the system in My Systems list. Congrats!!! Now you can use it in “**My Connections**” section of Synk.to.
